UI Mock nodes let you upload interface mockups, highlight sections that need data, and build queries to check what your API needs to provide for each part of your user interface.

Creating UI Mock Nodes

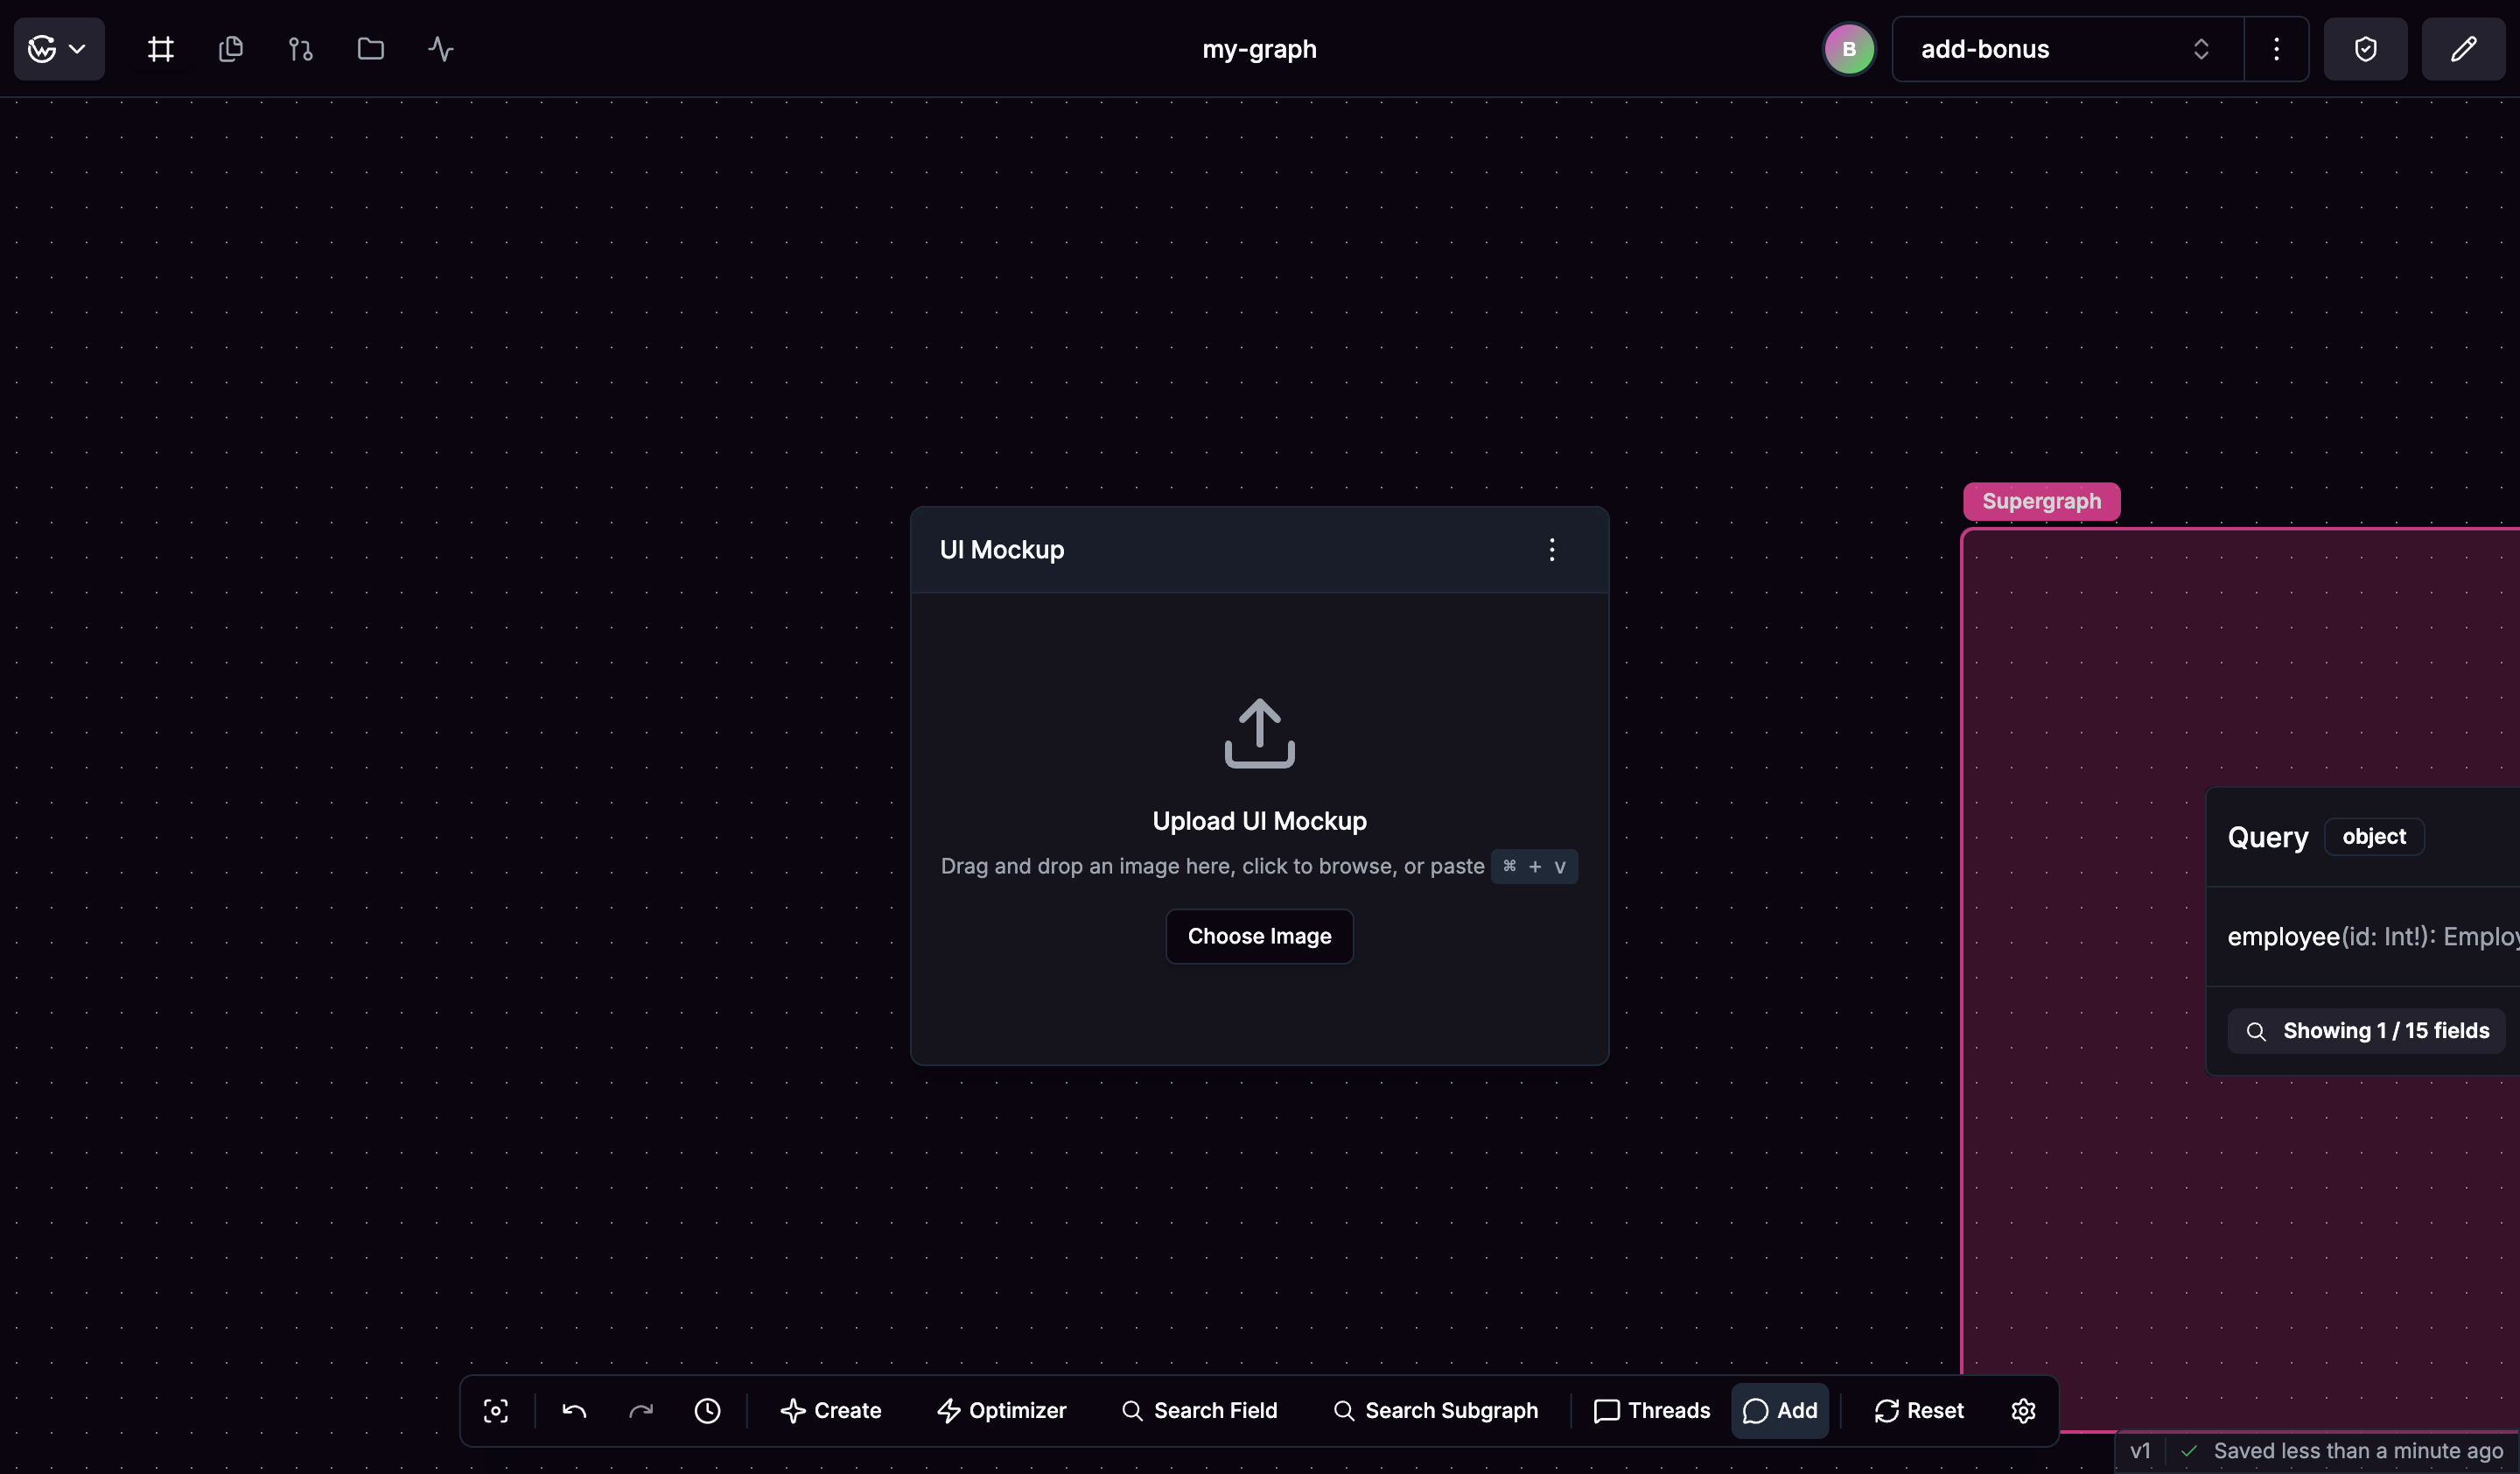
You can create UI Mock nodes in several ways.
  • Use “Create UI Mock” from the action bar to add a new mockup node
  • Drag and drop image files directly onto the canvas
  • Copy images from design tools and paste them using Ctrl+V (Cmd+V on Mac)
Empty UI Mock node ready for image upload

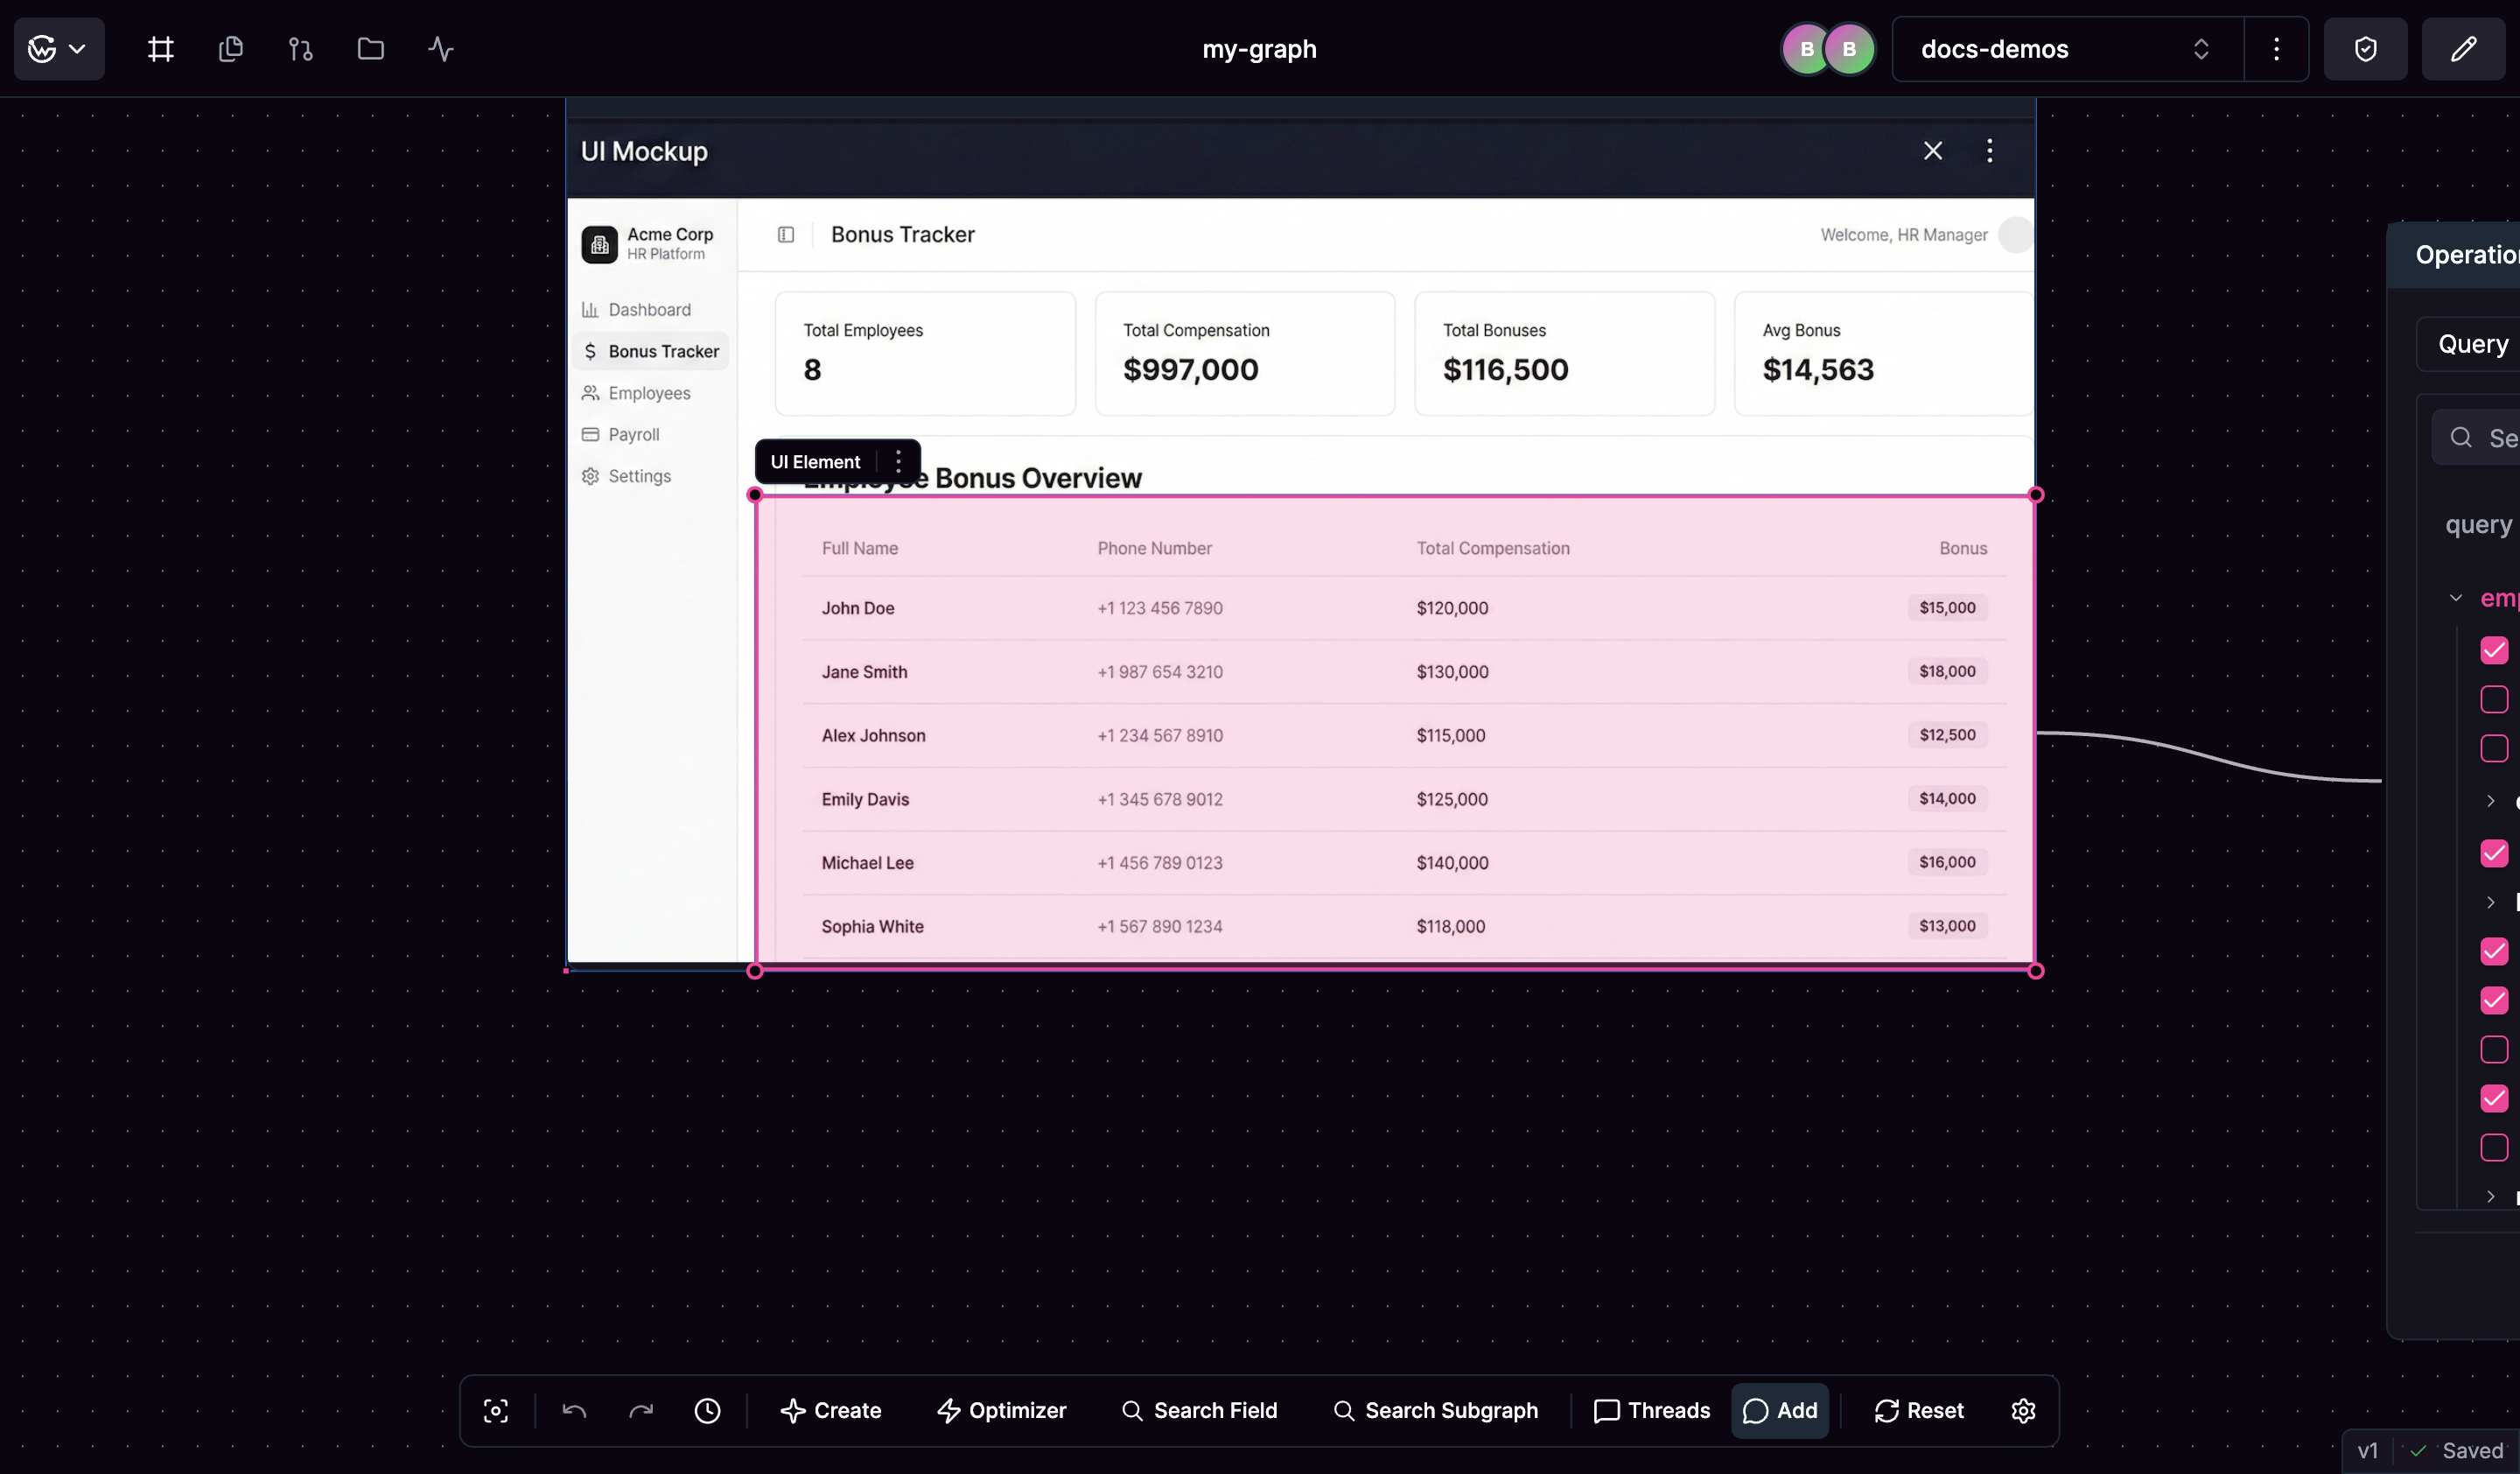
Working with Mockups

Once you have a UI Mock node, upload your interface designs in common formats like PNG or JPG. Click and drag to create highlighted regions over parts of your interface that need API data, then give these highlighted areas descriptive names to document what data they represent. UI Mock with highlighted sections and connected Operation Builder node Highlighted areas automatically create connected Operation Builder nodes for constructing operations, creating a direct link between your interface requirements and your API design.

Building Requirements

When you highlight a mockup section, the system creates an Operation Builder node where you can construct operations to check what data your API needs to provide for that interface element. This helps you build comprehensive API requirements based on actual interface needs.