

Setup and Configuration
1
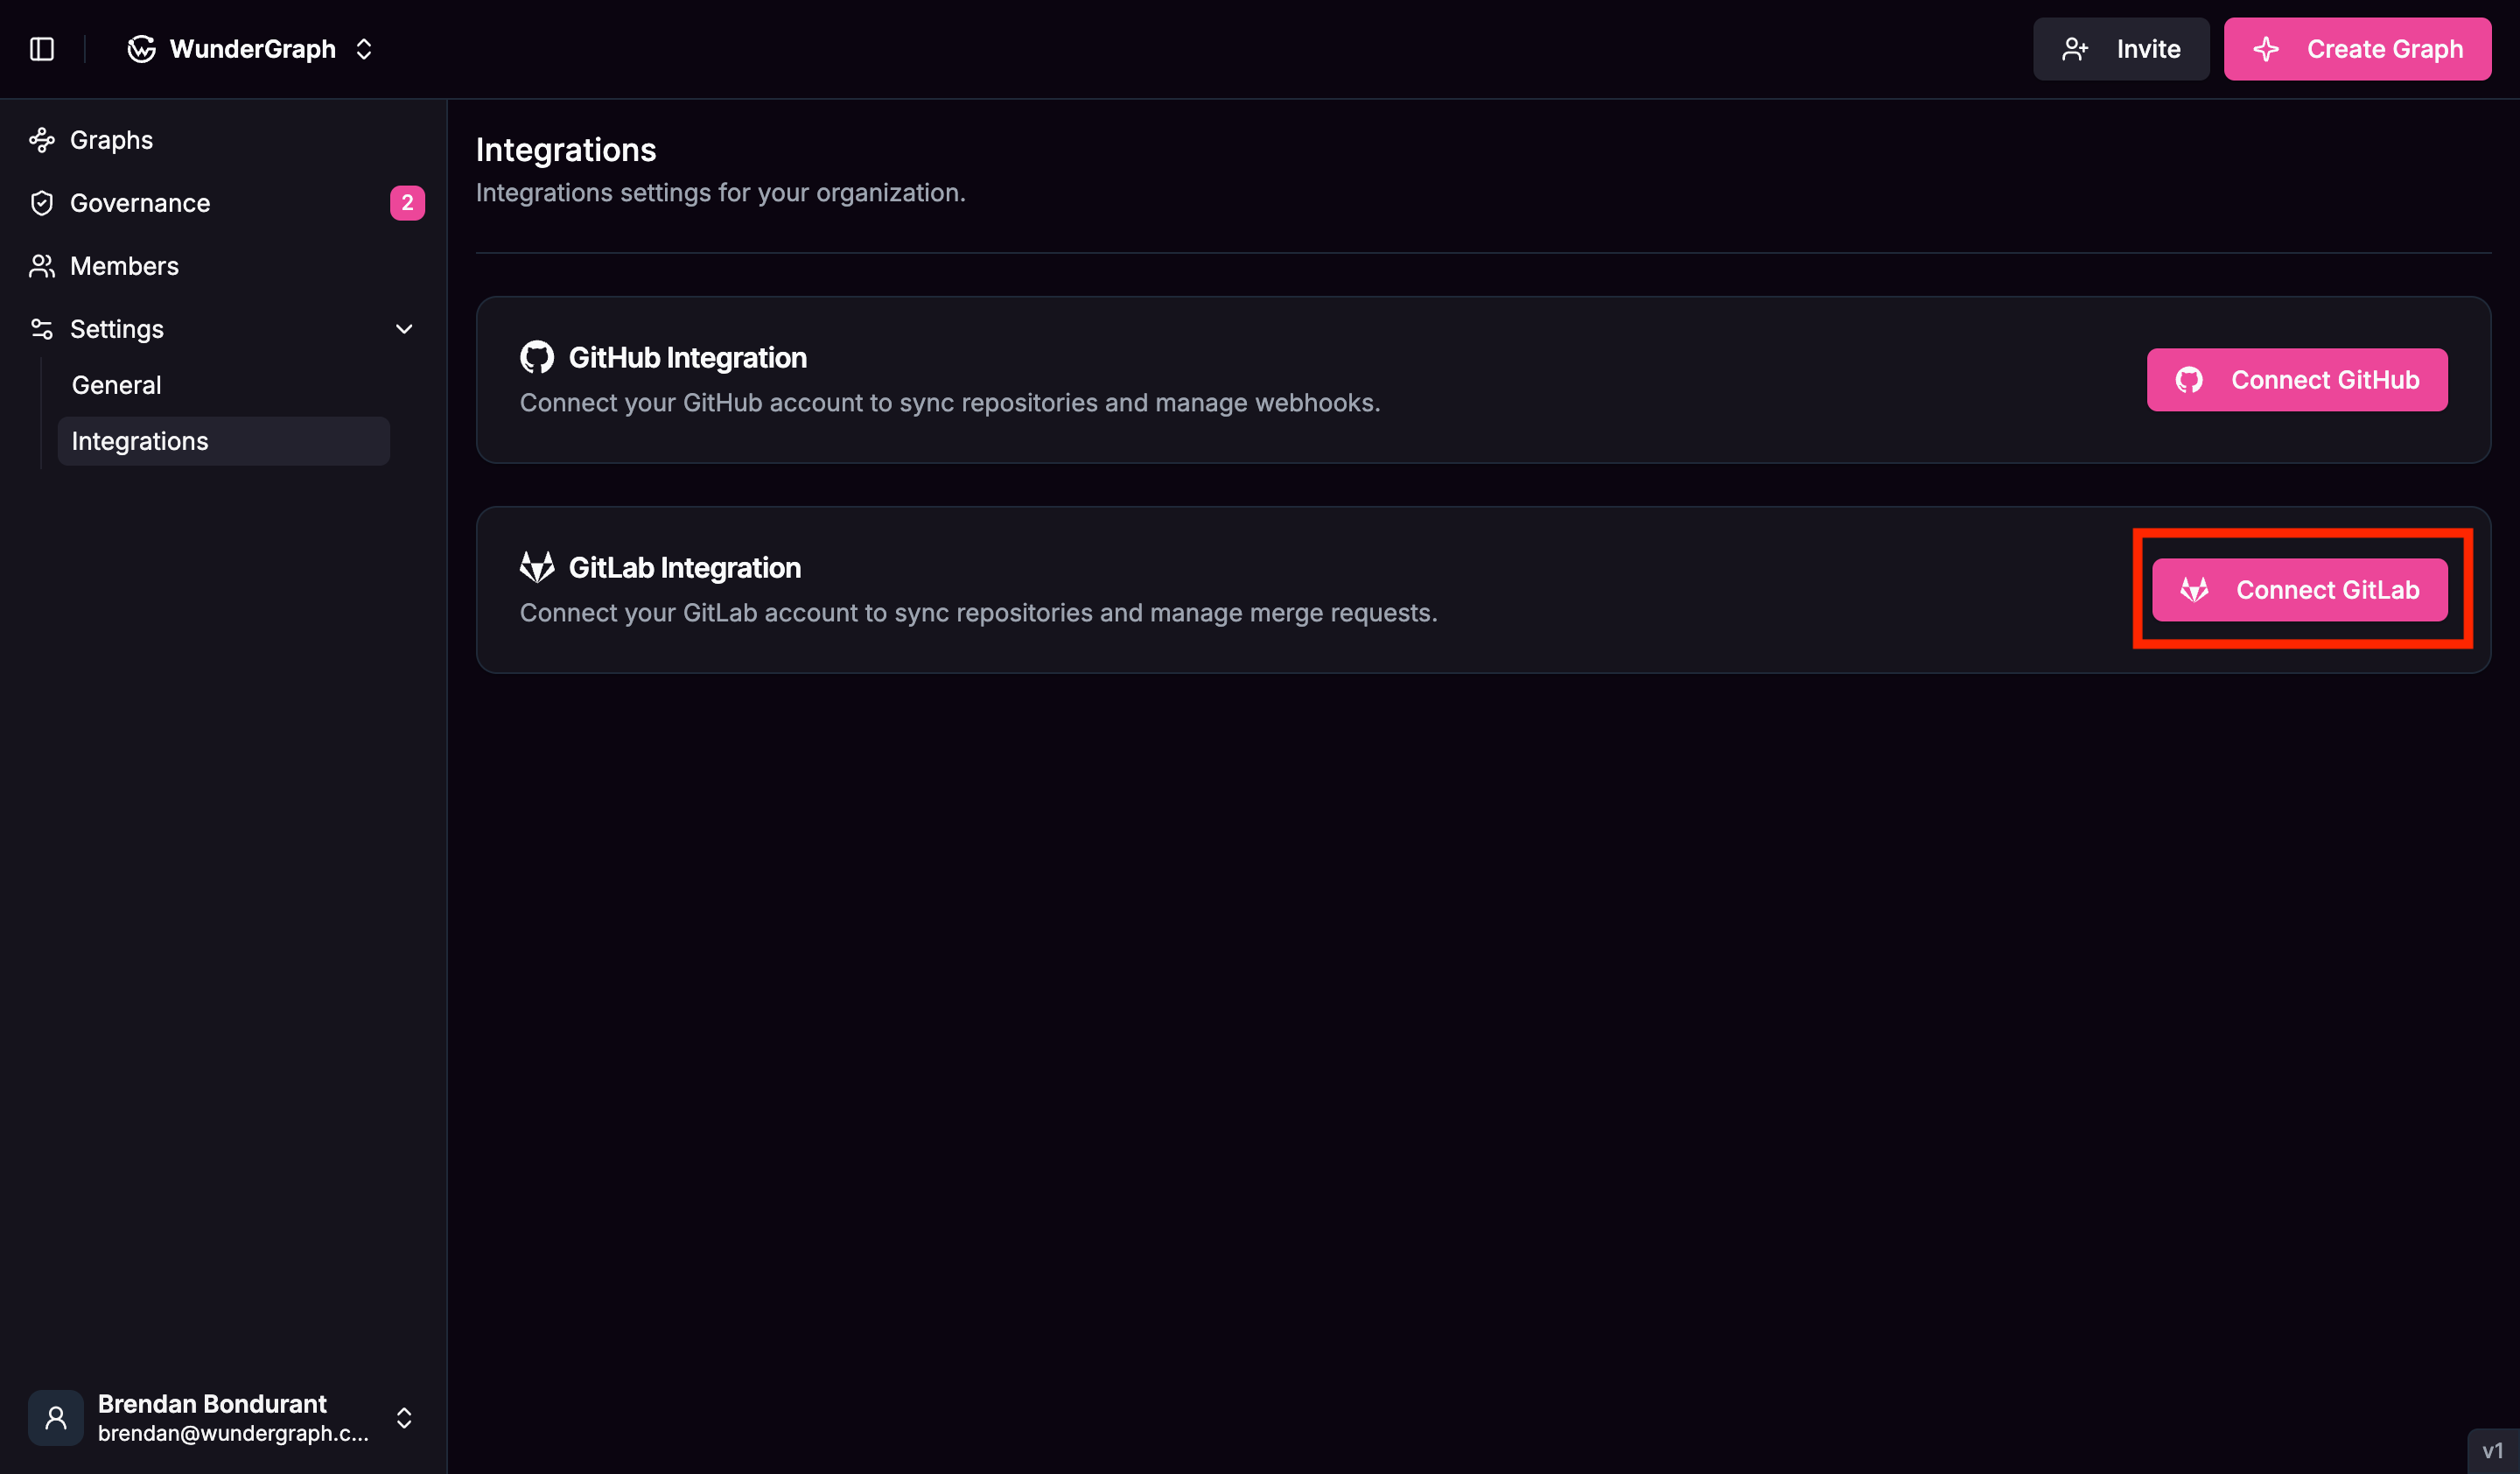
Navigate to the "Integrations" tab under "Settings".
2
Click the "Connect GitLab" button.
3
Choose your GitLab instance type.
A dialog will appear asking you to choose your GitLab instance type. WunderGraph Hub supports two connection flows:
- GitLab.com (Cloud)
- Self-Hosted / GitLab Enterprise
Use this option if your repositories are hosted on gitlab.com.
- Select the GitLab.com tab in the dialog.
- Click Connect — you will be redirected to GitLab.com to authorize the WunderGraph Hub application.
- Grant the necessary permissions (
api,read_repository,write_repository). - Once authorized, you will be redirected back to WunderGraph Hub.
4
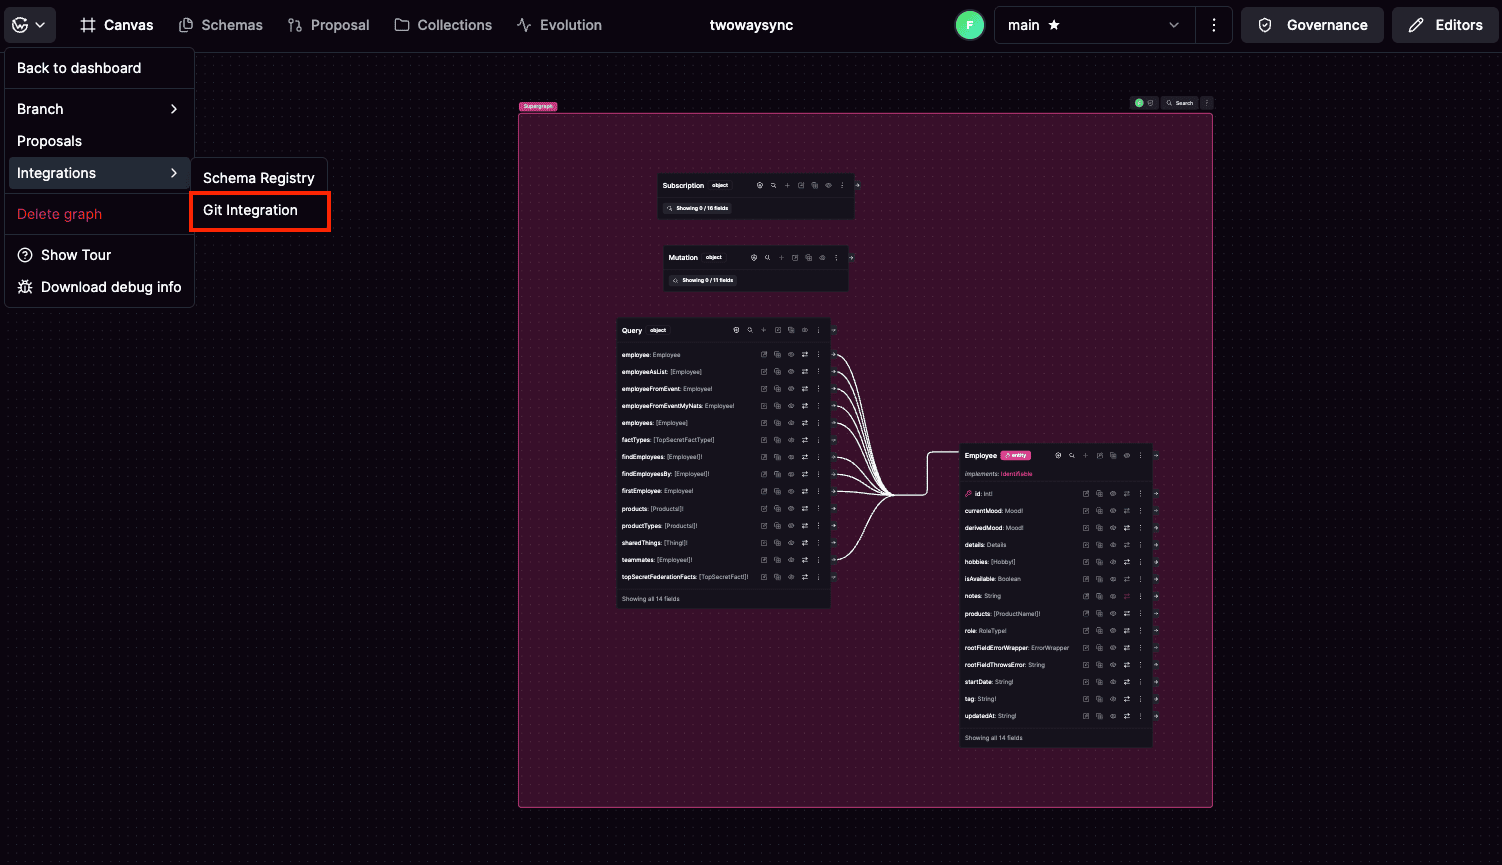
Navigate to any of your graphs, click the dropdown in the top-left corner, select "Integrations", then select "Git".
5
Select the GitLab projects you want to connect to each subgraph.
6
Click "Save Mappings" to connect the projects.
This will create initialization MRs in all selected projects with the respective subgraph schema.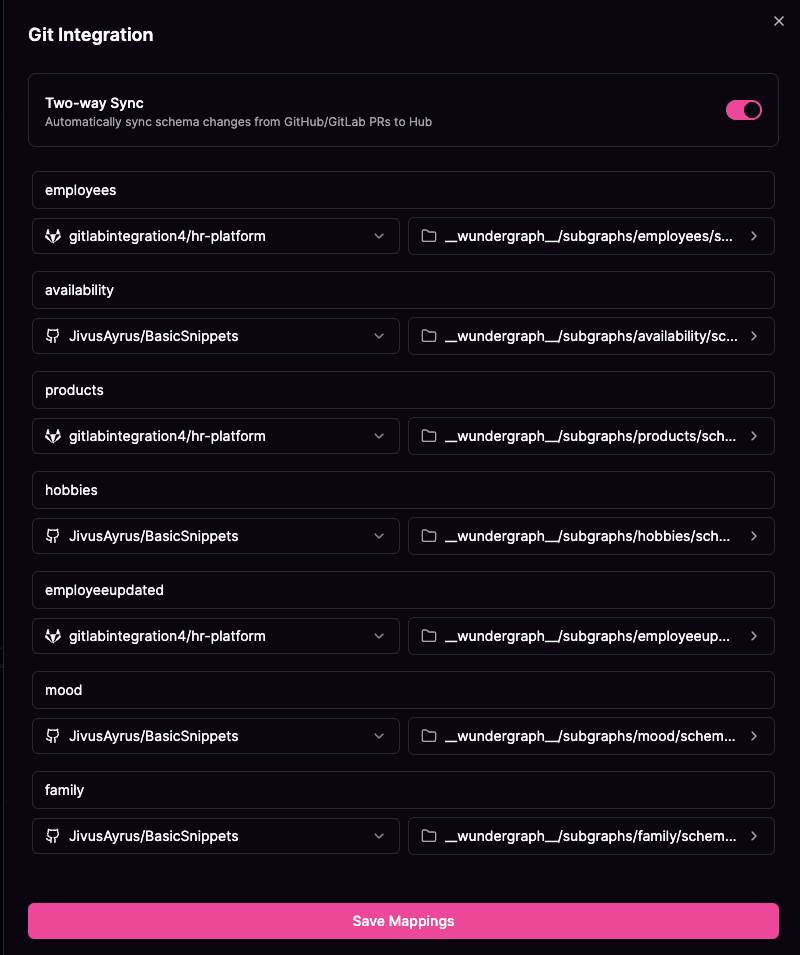
Merge Request Lifecycle
The GitLab integration automatically synchronizes merge request states with your schema proposal status, ensuring your development workflow stays aligned with your schema management process. Merge Request State Management:How It Works
Streamlined Development Workflow
The GitLab integration eliminates the friction between schema design and implementation by automatically creating branches in your mapped projects whenever a schema proposal is made. This means developers can immediately start implementing changes without manual setup.Automatic Merge Request Creation
When a schema proposal is created in the hub, the integration automatically:- Creates a new branch in the mapped project
- Stores the proposed schema files directly in the branch
- Creates a merge request with the schema changes on new changes after creating a proposal or by opening the proposal.