> ## Documentation Index
> Fetch the complete documentation index at: https://hub-docs.wundergraph.com/llms.txt
> Use this file to discover all available pages before exploring further.
# Creating Your First Graph
> WunderGraph Hub allows you to create GraphQL schemas from scratch or by importing existing schemas from various sources
### From the Hub Dashboard
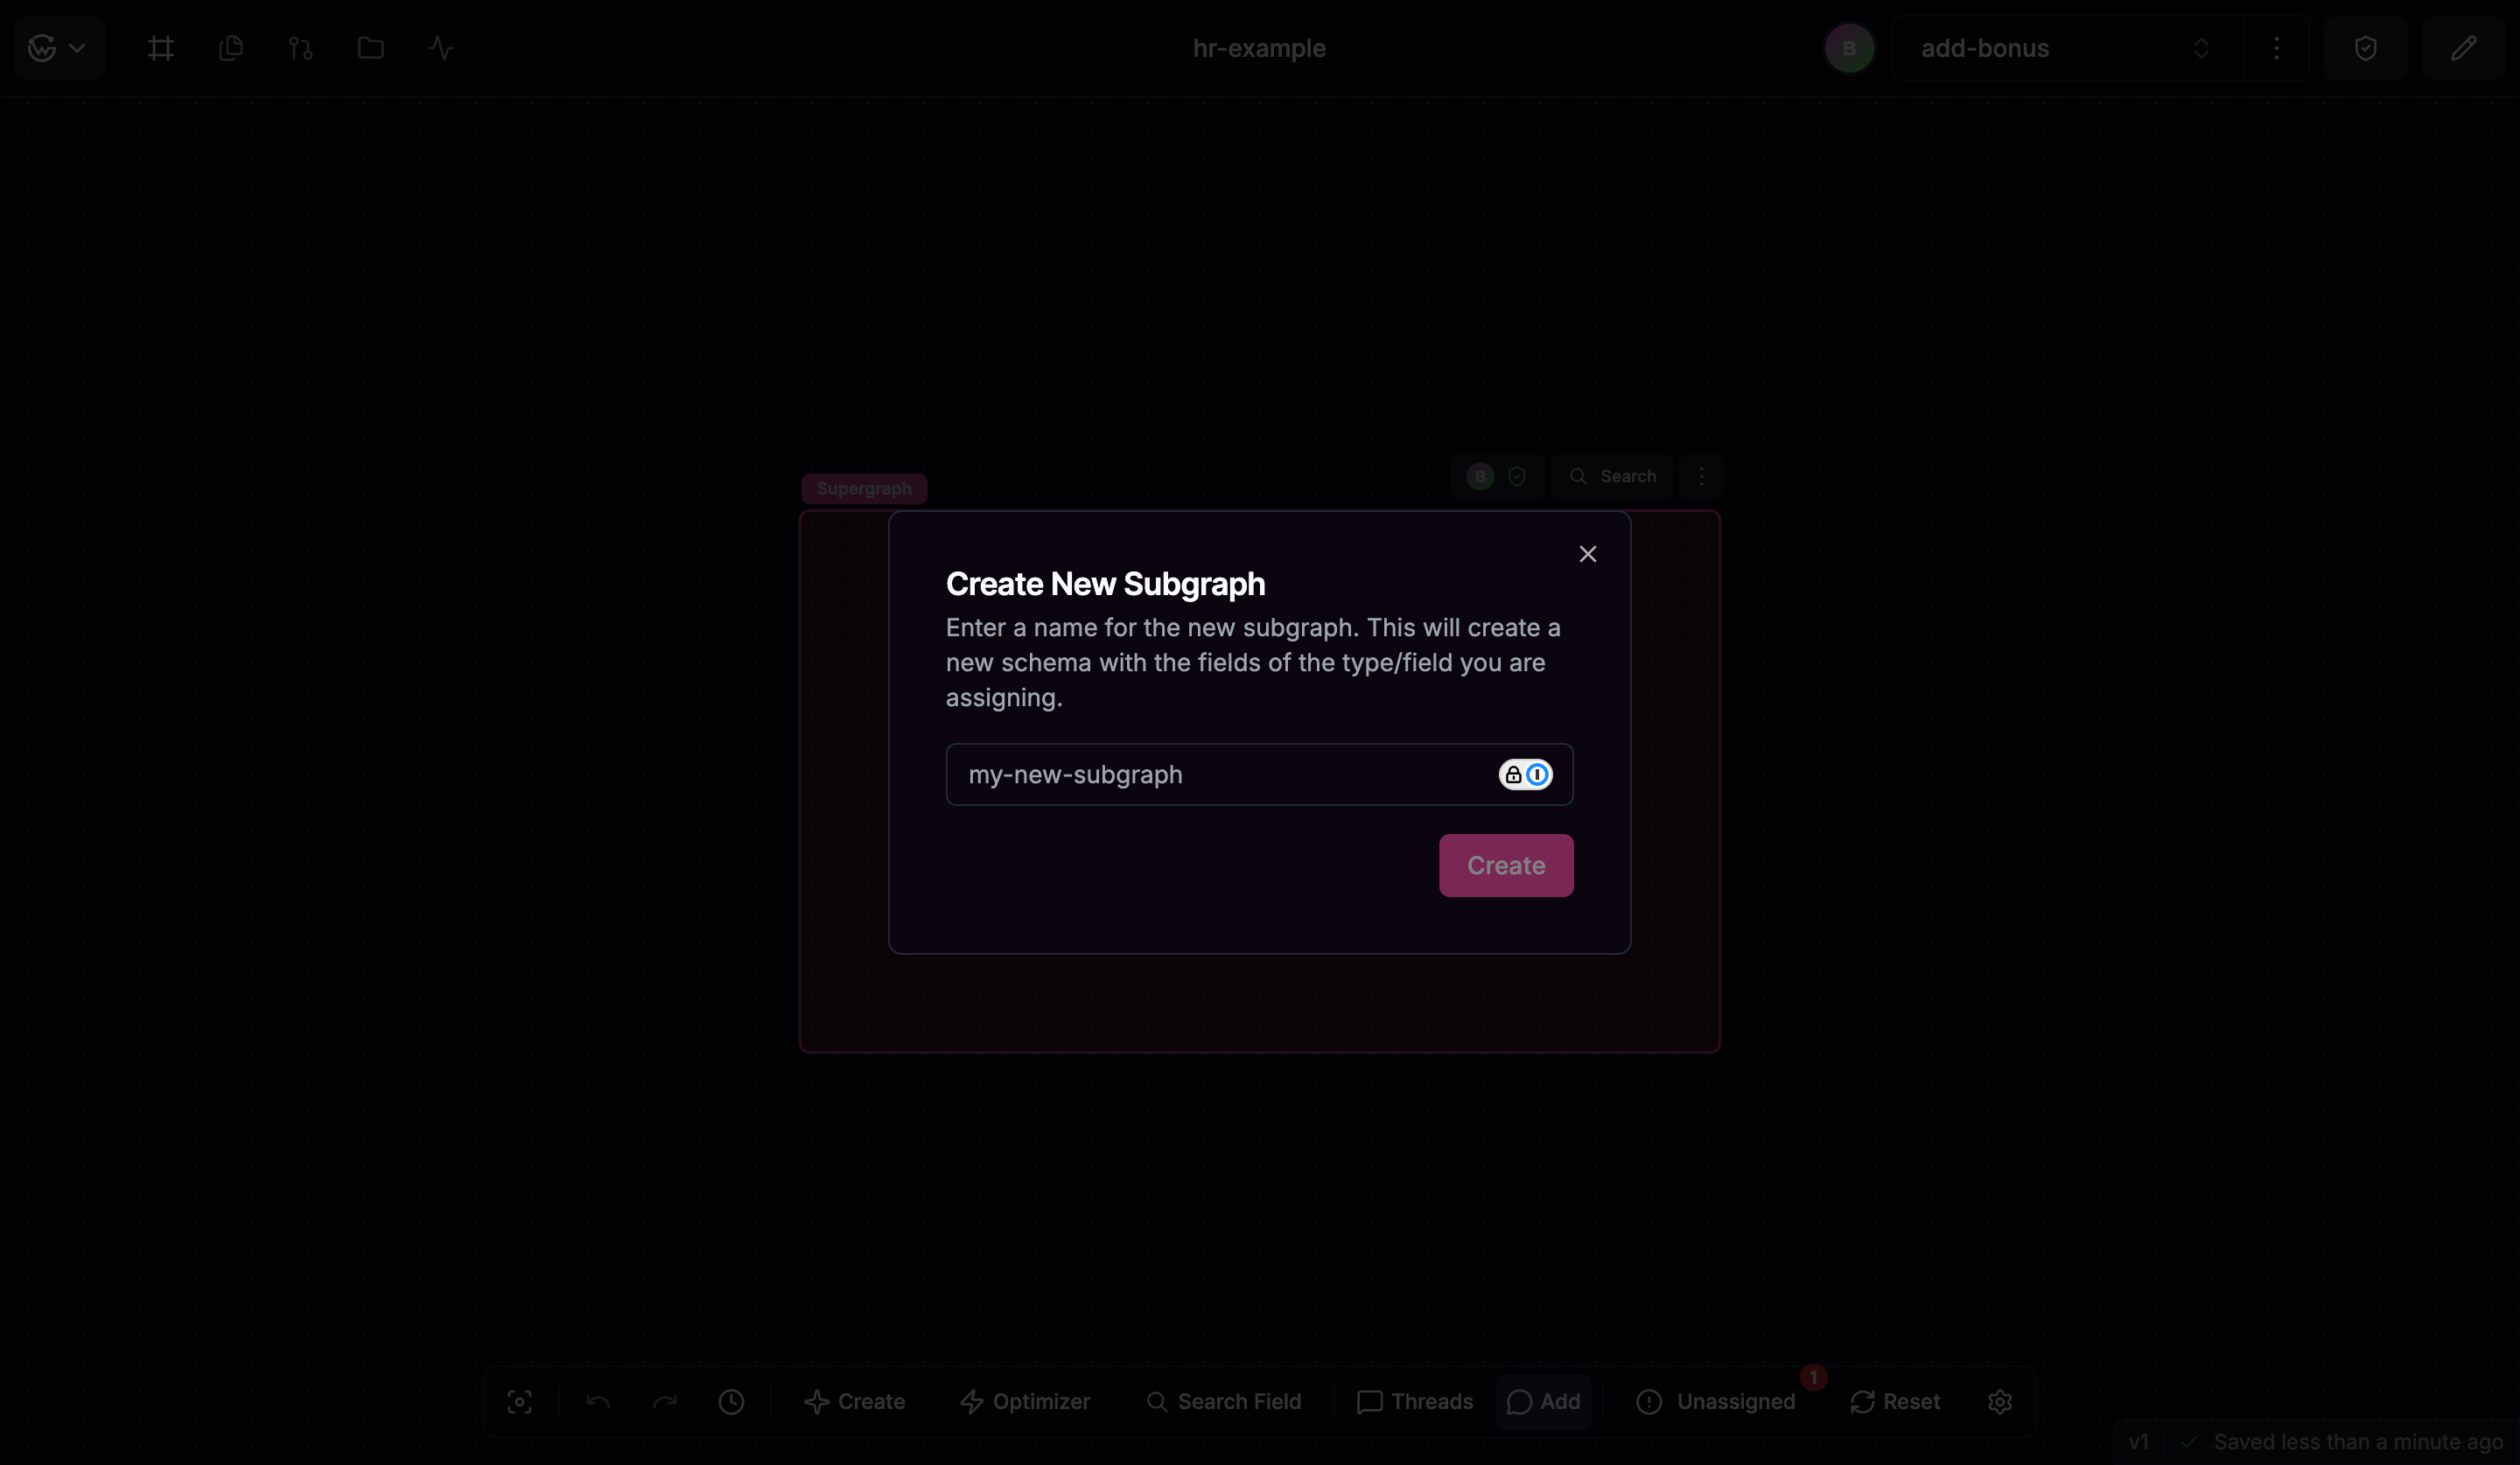 * Click on your organization or personal account in the left sidebar
* Go to the **Graphs** section
* Enter a unique name for your graph (this becomes the slug)
* The name must follow slug format (lowercase, hyphens allowed)
* Click **Create Graph**
Graph names must be unique within your organization or personal account. They
serve as both display names and URL slugs.
### What Gets Created
When you create a new graph, Hub automatically sets up:
* **Main Branch**: The primary collaborative workspace with real-time editing
* **Empty Schema**: Ready for GraphQL type creation and organization
* **Real-time Collaboration**: Multiple users can edit simultaneously
* **Collaborator Access**: Automatic permissions based on your organization settings
## Importing Existing Schemas
Hub provides multiple ways to import existing GraphQL schemas into your new graph. When you first open a new graph, you'll be presented with three options:
* Click on your organization or personal account in the left sidebar
* Go to the **Graphs** section
* Enter a unique name for your graph (this becomes the slug)
* The name must follow slug format (lowercase, hyphens allowed)
* Click **Create Graph**
Graph names must be unique within your organization or personal account. They
serve as both display names and URL slugs.
### What Gets Created
When you create a new graph, Hub automatically sets up:
* **Main Branch**: The primary collaborative workspace with real-time editing
* **Empty Schema**: Ready for GraphQL type creation and organization
* **Real-time Collaboration**: Multiple users can edit simultaneously
* **Collaborator Access**: Automatic permissions based on your organization settings
## Importing Existing Schemas
Hub provides multiple ways to import existing GraphQL schemas into your new graph. When you first open a new graph, you'll be presented with three options:
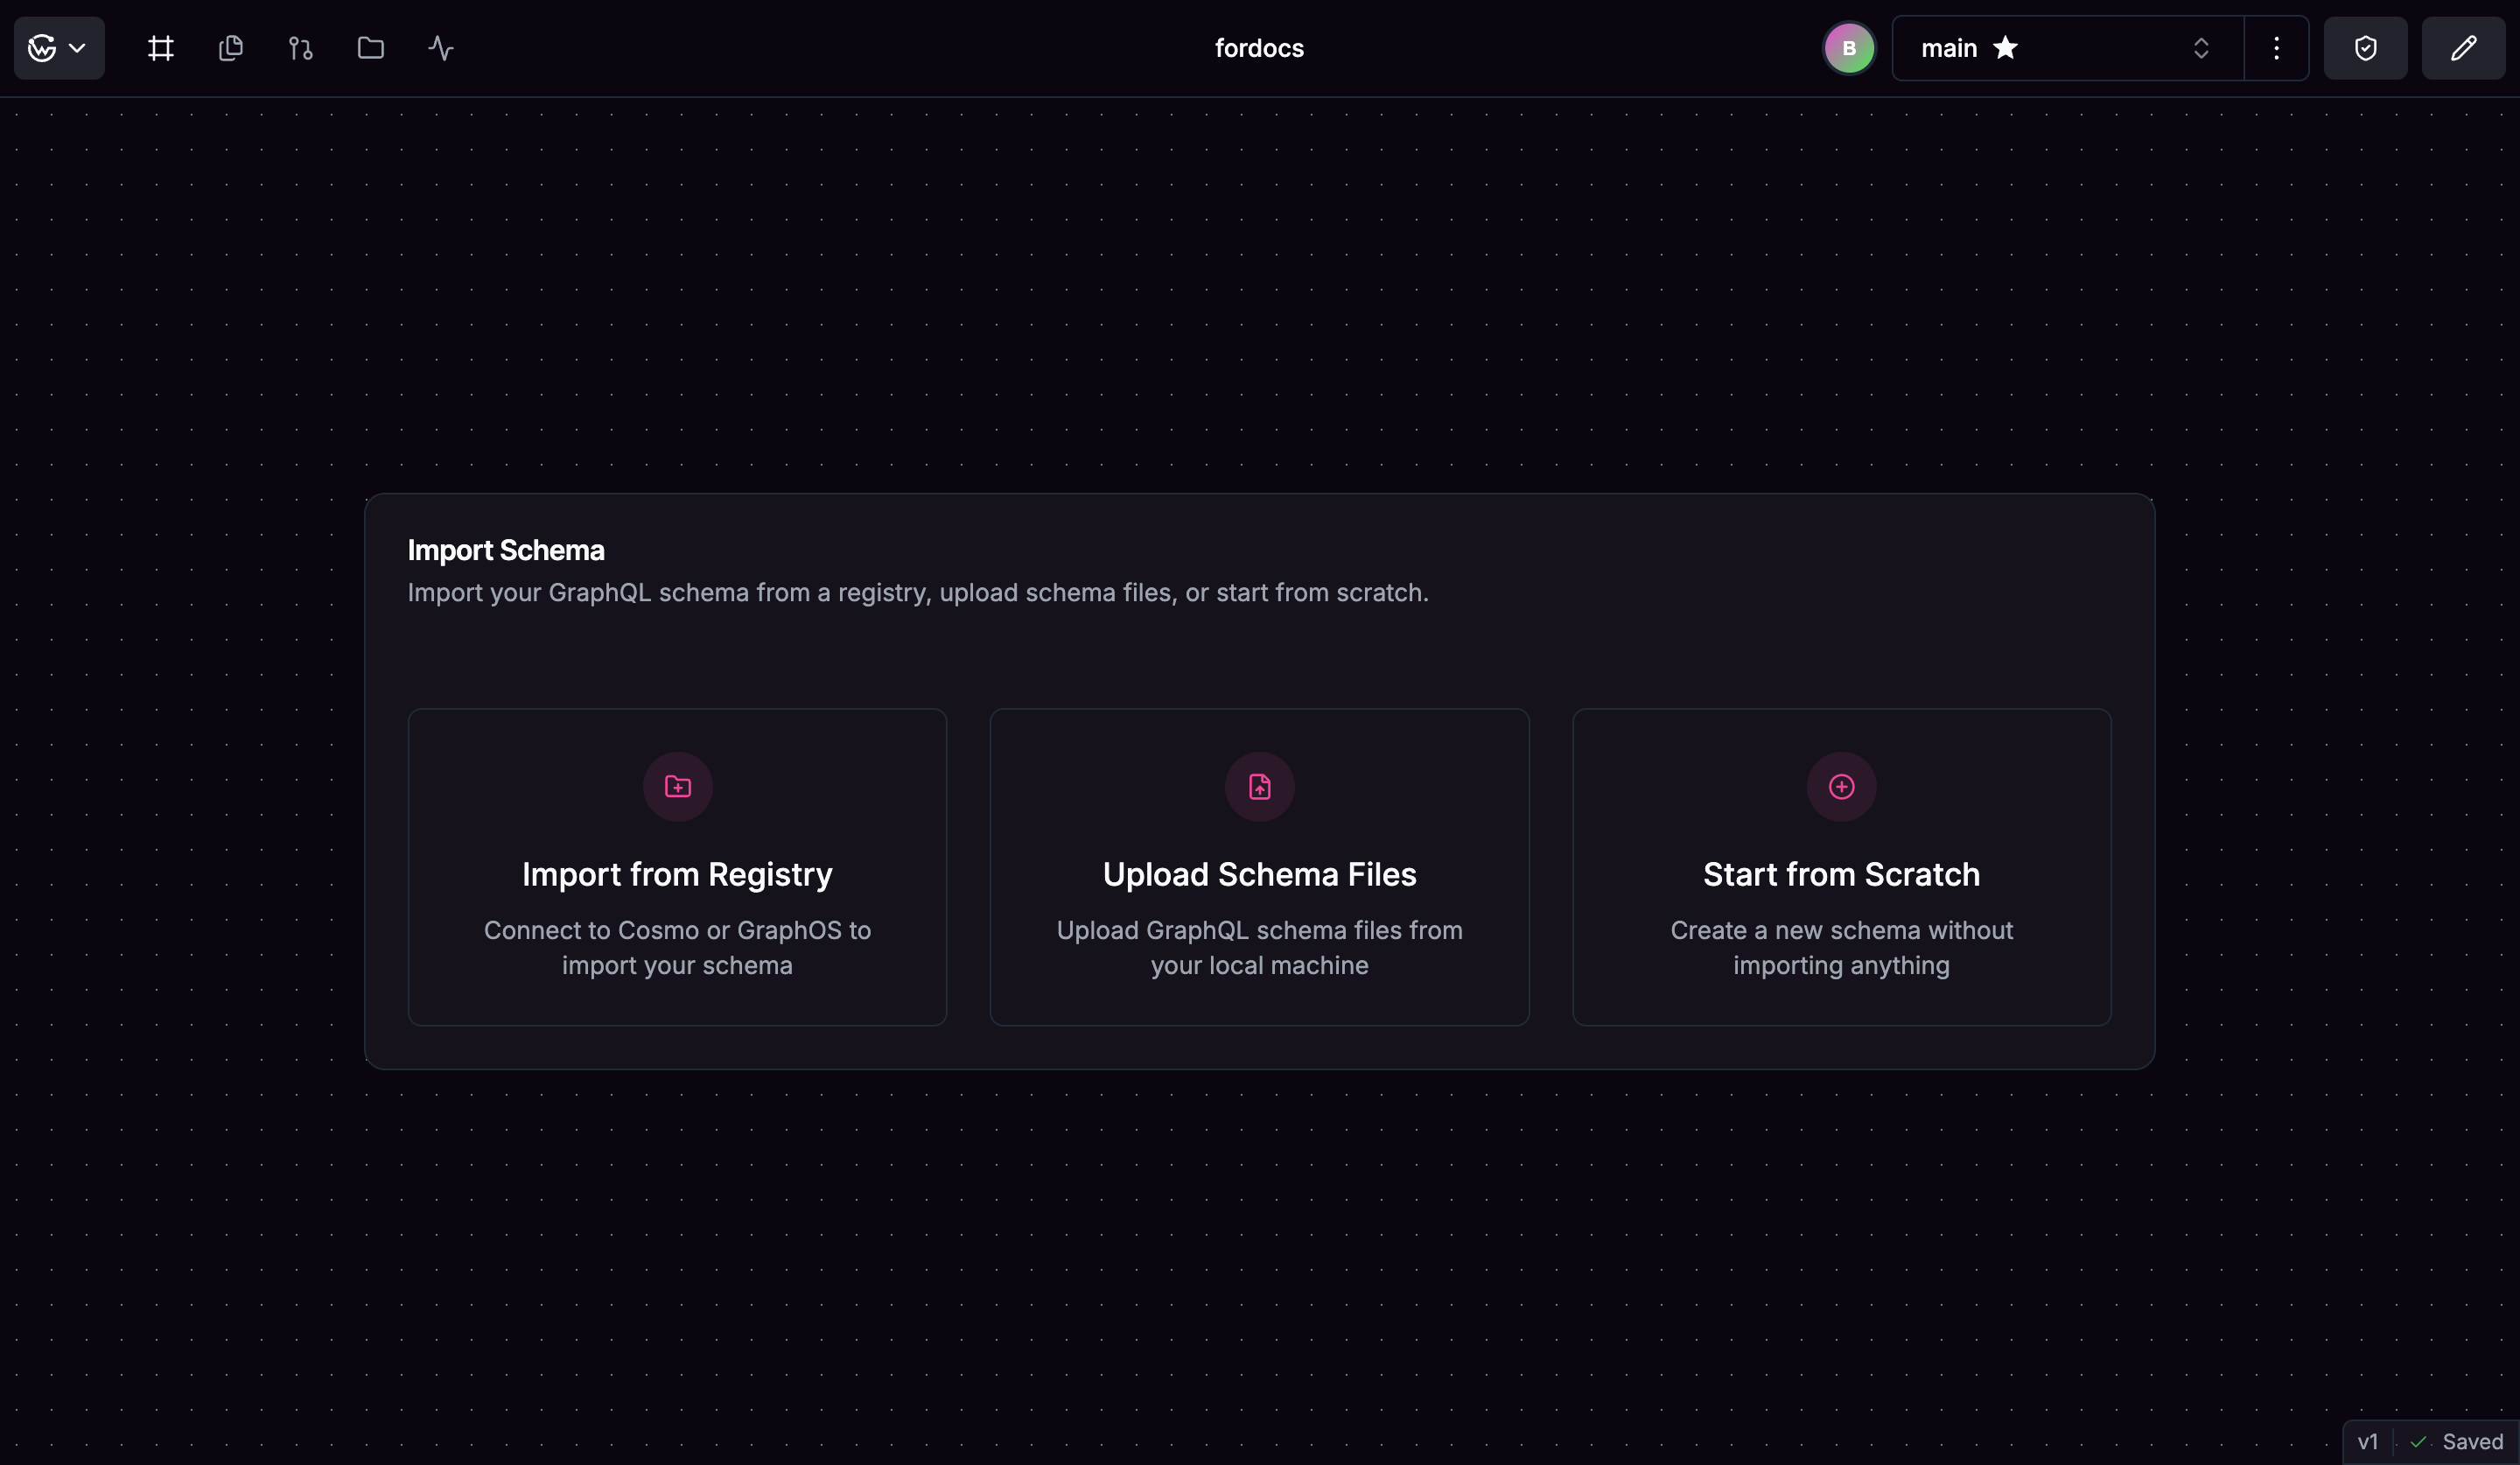 Import schemas directly from Cosmo or Apollo GraphOS
Upload .graphql or .graphqls files from your computer
Begin with an empty schema and build types manually
### Upload Schema Files
Import GraphQL schema files directly from your file system:
or browse for `.graphql` or `.graphqls` files
* Hub automatically generates names from file names
* Edit names to match your schema organization
* Names must be valid slugs
Hub processes files and sets up your GraphQL schemas
### Start from Scratch
Begin with an empty schema and build it incrementally:
* **Create Types/Fields**: Add GraphQL types and fields
* **Create Schemas**: Organize your GraphQL types
* **Define Relationships**: Connect types and establish data relationships
## Starter Templates
For new users, Hub automatically creates a starter template called **"hr-platform"** that demonstrates:
* **Multiple Schemas**: `users`, `hr`, `payroll` domain schemas
* **GraphQL Patterns**: Type relationships, field organization, schema structure
* **Real Schema Examples**: Complete HR domain with Users, Departments, Salary, Benefits
The starter template serves as a learning resource and can be safely deleted
once you're familiar with Hub's GraphQL schema design concepts.
Import schemas directly from Cosmo or Apollo GraphOS
Upload .graphql or .graphqls files from your computer
Begin with an empty schema and build types manually
### Upload Schema Files
Import GraphQL schema files directly from your file system:
or browse for `.graphql` or `.graphqls` files
* Hub automatically generates names from file names
* Edit names to match your schema organization
* Names must be valid slugs
Hub processes files and sets up your GraphQL schemas
### Start from Scratch
Begin with an empty schema and build it incrementally:
* **Create Types/Fields**: Add GraphQL types and fields
* **Create Schemas**: Organize your GraphQL types
* **Define Relationships**: Connect types and establish data relationships
## Starter Templates
For new users, Hub automatically creates a starter template called **"hr-platform"** that demonstrates:
* **Multiple Schemas**: `users`, `hr`, `payroll` domain schemas
* **GraphQL Patterns**: Type relationships, field organization, schema structure
* **Real Schema Examples**: Complete HR domain with Users, Departments, Salary, Benefits
The starter template serves as a learning resource and can be safely deleted
once you're familiar with Hub's GraphQL schema design concepts.